


# Prepare the Development Environment
# Prerequisites
Microsoft Visual Studio 2013 or above
Supports Windows 7 or above
Effective Juphoon Developer Account(free sign up (opens new window) )
Efficient Juphoon AppKey
# Create a Winform project
Follow the steps below to create a Winform project. If you already have a Winform project, you can directly view the integrated SDK.
On the Start window, select Create a New Project.
Enter or type “Windows Form” in the search box of the Create a New Project window. Next, select Desktop from the Project Type list.
After applying the Project Type filter, select the Windows Form Application (.NET Framework) template for C# or Visual Basic, and then select Next. -> * In the Configure a New Project window, type or enter “PictureViewer” in the Project Name box. Then, select Create.
# Integrate SDK
Put nine files such as
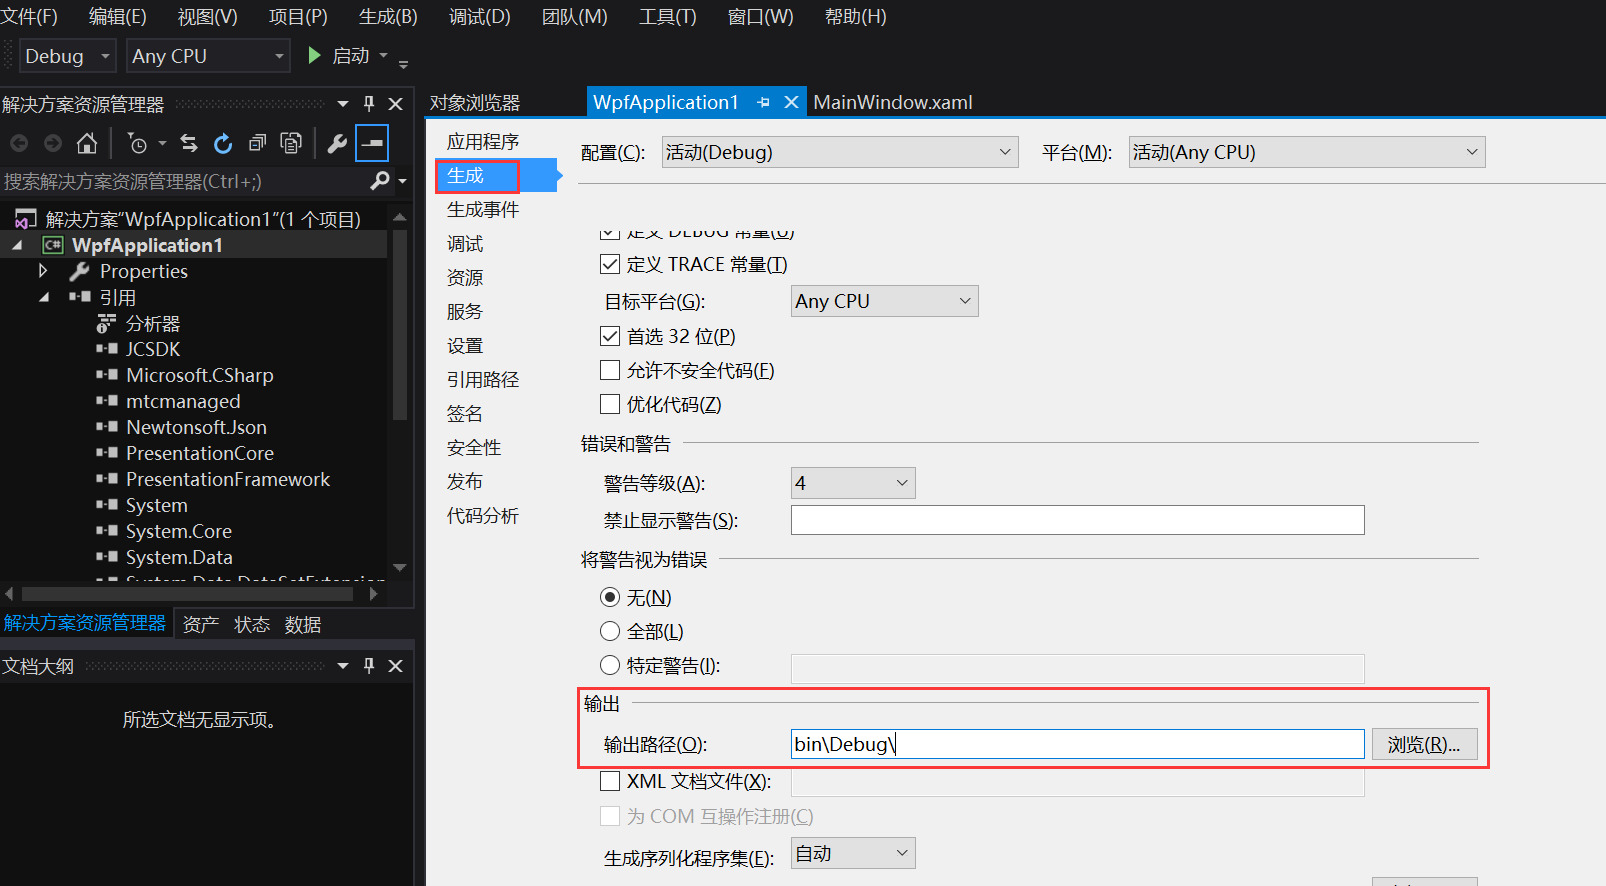
zmfmanaged.dll,zmf.dll,Newtonsoft.Json.dll,mtcwrap.dll,mtcmanaged.dll,mtc.dll,jssmme.dll,JCSDK.dll,bzip2.dllin the bin directory into the application../bin/Debug/binDebug. (This is the default path)Click Project -> Add Reference –> Browse –> Select dll placement path and click “OK”.
Confirm that the output path is the same as the folder where the dll library is located.
If the compilation is successful, the integrated content is completed.